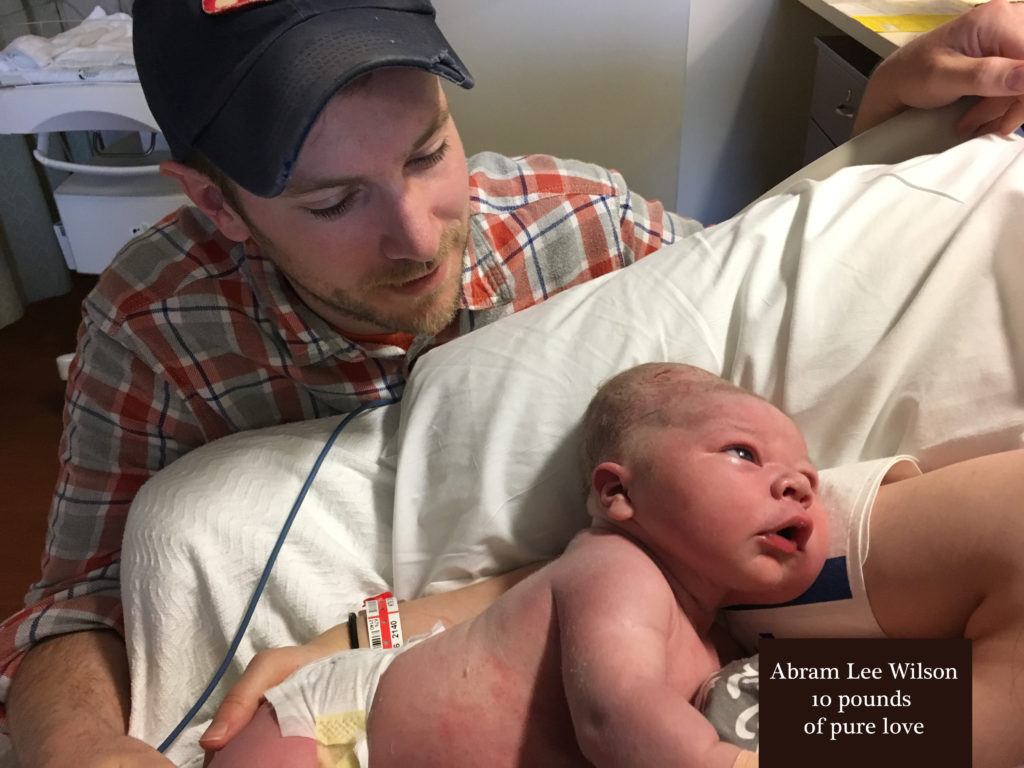
All About Newborn Cloth Diapers!
What is tiny and adorable but takes a lot of ????
You guessed it, Newborn cloth diapers!
There is nothing quite as adorable as a newborn sporting cloth on their tiny little tush. Some decide to skip on using newborn diapers and others like to splurge on them.
I’m going to show you a few different NB cloth diaper options, styles, and types. I’ll also weigh the pros and cons to see if splurging on them is the right choice for you!
Affiliate Disclaimer:
This post contains affiliate links. This means that if you click on any of my fun-little-links and purchase something, I'll make a small commision at no extra cost to you. It's a win-win for both of us right?
(Giveaway Now Closed, Sorry!)
About Newborn Cloth Diapers
What are newborn Cloth diapers and why use them?
Newborn Cloth diapers (NB) are basically what the title states: newborn sized cloth diapers. They are a Sized type of cloth diaper meant to fit babies around 5 to 12 pounds on average.
Newborn Cloth diapers are tiny versions of regular-sized cloth diapers and fit newborns really well. Babies will usually fit into them for one to three months.
Some parents choose to skip NB diapers because of the extra costs and use regular one-sized (OS) diapers are meant to fit babies from 8-35 pounds. They are more of a “one size fits all” type of option.
One Size Diapers are not “all that.”
While it’s true that OS diapers are more economical compared to newborns, they aren’t perfect for every situation.
For example, OS diapers can make it harder to fit under those adorable newborn clothes – you will probably only use once. They can be extremely bulky on newborns and small legged babies.
Some diapers practically swallow newborns! Who wants their kid to look like they are being eaten alive by their own diaper?
Aesthetics aren’t the only issue…
If your newborn is on the smaller side, using a OS diaper can even lead to leaks and more frustration.
Popping out a baby is hard enough and no one wants to deal with added diaper issues. This is where Newborn Cloth Diapers (aff link) can really shine; They fit newborns and smaller babies really well, are less likely to leak and look adorable!
Another cool feature that you can get with some brands of newborn cloth diapers is the umbilical cord Snap-downs. This is where you can snap down the front and center part of the diaper to make room for the umbilical cord.
Using the snap-down feature is great for babies that are fresh out of the oven and will prevent the diaper from rubbing the cord.

Types Of Newborn Cloth Diapers
Options, Options, Options!
In the epic world of cloth, there are a million+ options to choose from when picking out cloth diapers. Newborn cloth diapers are no different.
This is both a good and a bad thing. Good because you get to pick out what type of diaper and fabrics work with your baby. It’s bad because it can be overwhelming and a bit pricey.
Just like regular cloth diapers, newborn diapers can come in different types such as – flats, prefolds, fitteds, pockets, all in ones, all in two’s, hybrids, and wool or fleece covers.
Hopefully, my video review will help give you a better understanding of a few of the different types of NB cloth diapers you can choose from.
Newborn Diaper Options
Here is a quick breakdown of every type of newborn cloth diaper and the pros and cons of each.
Newborn Flat Cloth Diapers

Green Mountain Diapers
Types Of Newborn Flat Cloth Diapers
Flats or flat style cloth diapers (Amazon aff link) are simple squares or rectangle pieces of fabric that you fold into a diaper. You would secure them with pins, a Snappi, or Boingo fasteners. They require a waterproof cover and come in cotton, bamboo, hemp, or cotton/bamboo or cotton/hemp blends.
Most flats are one size, meaning they will fit around 6-30 pounds depending on how you fold them. You can purchase some flats in a newborn size or “half” size. These flats will work better for preemies and smaller babies or you can just do a basic “Newborn Fold.”

Green Mountain Diapers
Grandma Knew How To Diaper
Flats were probably used by your grandmother or great-grandmother in conjunction with rubber waterproof pants. Flats are still a popular diapering option due to their durability and affordability. These are the simplest and usually the cheapest diapers you can find ranging from $1.50 – $3.00 per flat.
Flats Can Fit Weird Shaped Babies EASY
One of the advantages of using flats is that they can fit any type of newborn whether they have chunky or thin thighs. They also WASH AND DRY super easy!
There’s A Learning Curve
Flats are a pretty versatile diaper all-around but they do take a little more time to prep. You also have to learn how to fold them or find a fold that works best for your baby. This may be more work than some new moms are willing to deal with.

Green Mountain Diapers
Popular Brands Flat Cloth Diapers
Popular brands of newborn or smaller sized flat diapers include Gerber Newborn Flats, Green Mountain Diaper – Half Sized, and OsoCozy (One Size).
Here is my Amazon affiliate link to a few affordable flats I believe work pretty well on smaller babies. – OsoCozy – Prefolds
Here is my Amazon aff link to some pretty cool Boingos (I ♥ BOINGOS)
How Many Flats Do I Need?
If you are going to wash every second or third day, I would recommend stocking up on 24 flat diapers. This will give you about eight diapers a day. You will also need about 8-14 covers depending on how many times you will want to reuse them. Make sure that you fold the flat around the baby so that poo is less likely to get onto the cover. Don’t reuse covers that have been soiled with number two.
Check out my complete post on FLATS and learn more about the different types and styles available!
Newborn Prefold Cloth Diapers
Types Of Newborn Prefolds
You can purchase newborn prefolds (aff link) in a few different fabrics such as cotton, bamboo, hemp or blends of cotton with bamboo or hemp. You can also get them unbleached and find organic cotton.
Newborn prefolds are normally about 12 x 14 inches in size. They will shrink and quilt-up once you wash them. Some brands even offer preemie sizes like Green Mountain Diapers. Prefolds are smaller than flats, easier to fold, and a little thicker in the center.
You can see in this picture how much bigger the toddler size prefold is compared to the newborn size that this baby is wearing!

6 pounds 8 oz baby, sporting a Cloth-eez newborn prefold. Image from Green Mountain Diapers.
How Much $ Are We Talking Here?
Prefolds are one of your cheapest and most economical cloth diapering options costing around 1-3 dollars per diaper. When your baby outgrows the newborn prefolds, use them as burp cloths or stuff them into pocket diapers!
You Will Need Diaper Covers
Diaper covers can be used multiple times before washing unless you get poo on them. Newborns poop quite a bit so you will need to fold your prefolds a certain way. You will need to fit the prefold around your baby and secure it with a Snappi or Boingo fastener.
A good fold to start with is the newspaper fold for a boy or the bikini twist fold for a girl.

6 week old, 9 pounds. Image from Green Mountain Diapers
If you would like to learn more about prefolds in general, you can check out my post, 5 ADVANTAGES OF THE PREFOLD CLOTH DIAPER!
Popular Newborn Prefold Cloth Diapers
Gerber, OsoCozy, Imagine Baby & Cloth-eez are a few popular prefold brands. However, I wouldn’t recommend the Gerbers, they are better off used as burp rags.
I apologize for the extremely long Amazon affiliate link. These are the prefolds I have always used and am happy with! OsoCozy – Prefolds Unbleached Cloth Diapers, Size 1, 6 Count – Soft, Absorbent and Durable 100% Indian Cotton Natural Diapers For Infants – Highest Quality & Best-Selling Cloth Diapers Sold Online
How Many NB Prefolds Do I Need?
If you are going to do a mixture of newborn cloth diapers types I would recommend 6-12 NB prefolds and around 6-8 covers. If you want to only use NB prefolds I would recommend around 24 (or more) prefolds and 8-12 covers. That will give you about 2 1/2 days of diapers.I purchased a pack of newborn prefolds for my second but he was born almost half-grown …. so they didn’t fit. ????
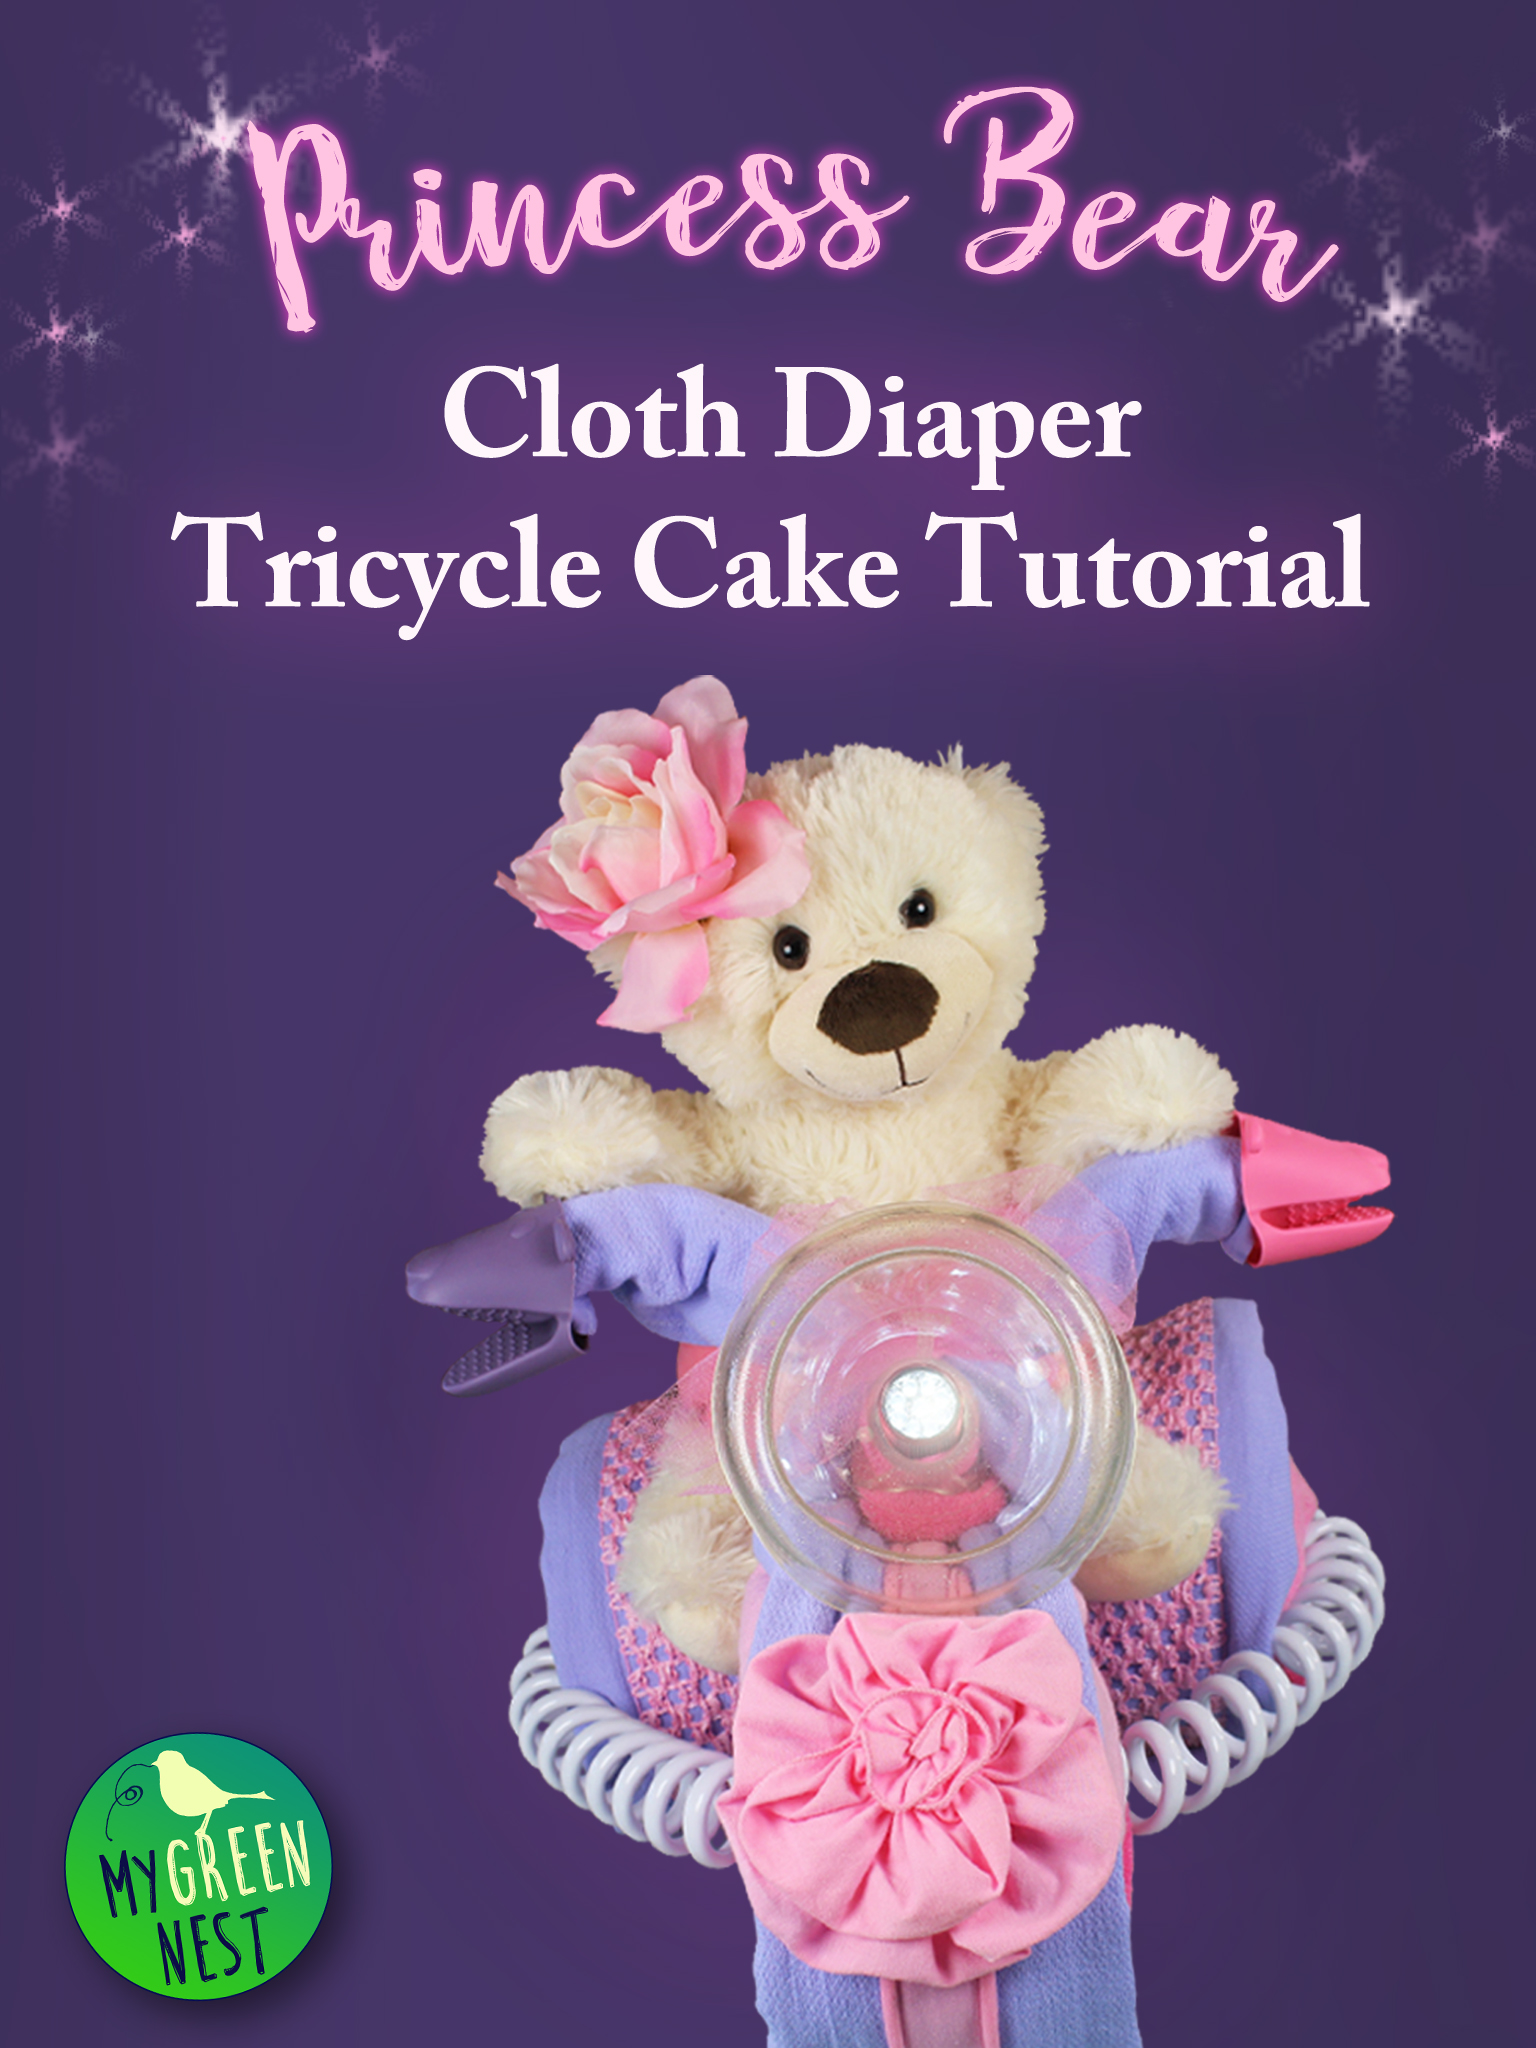
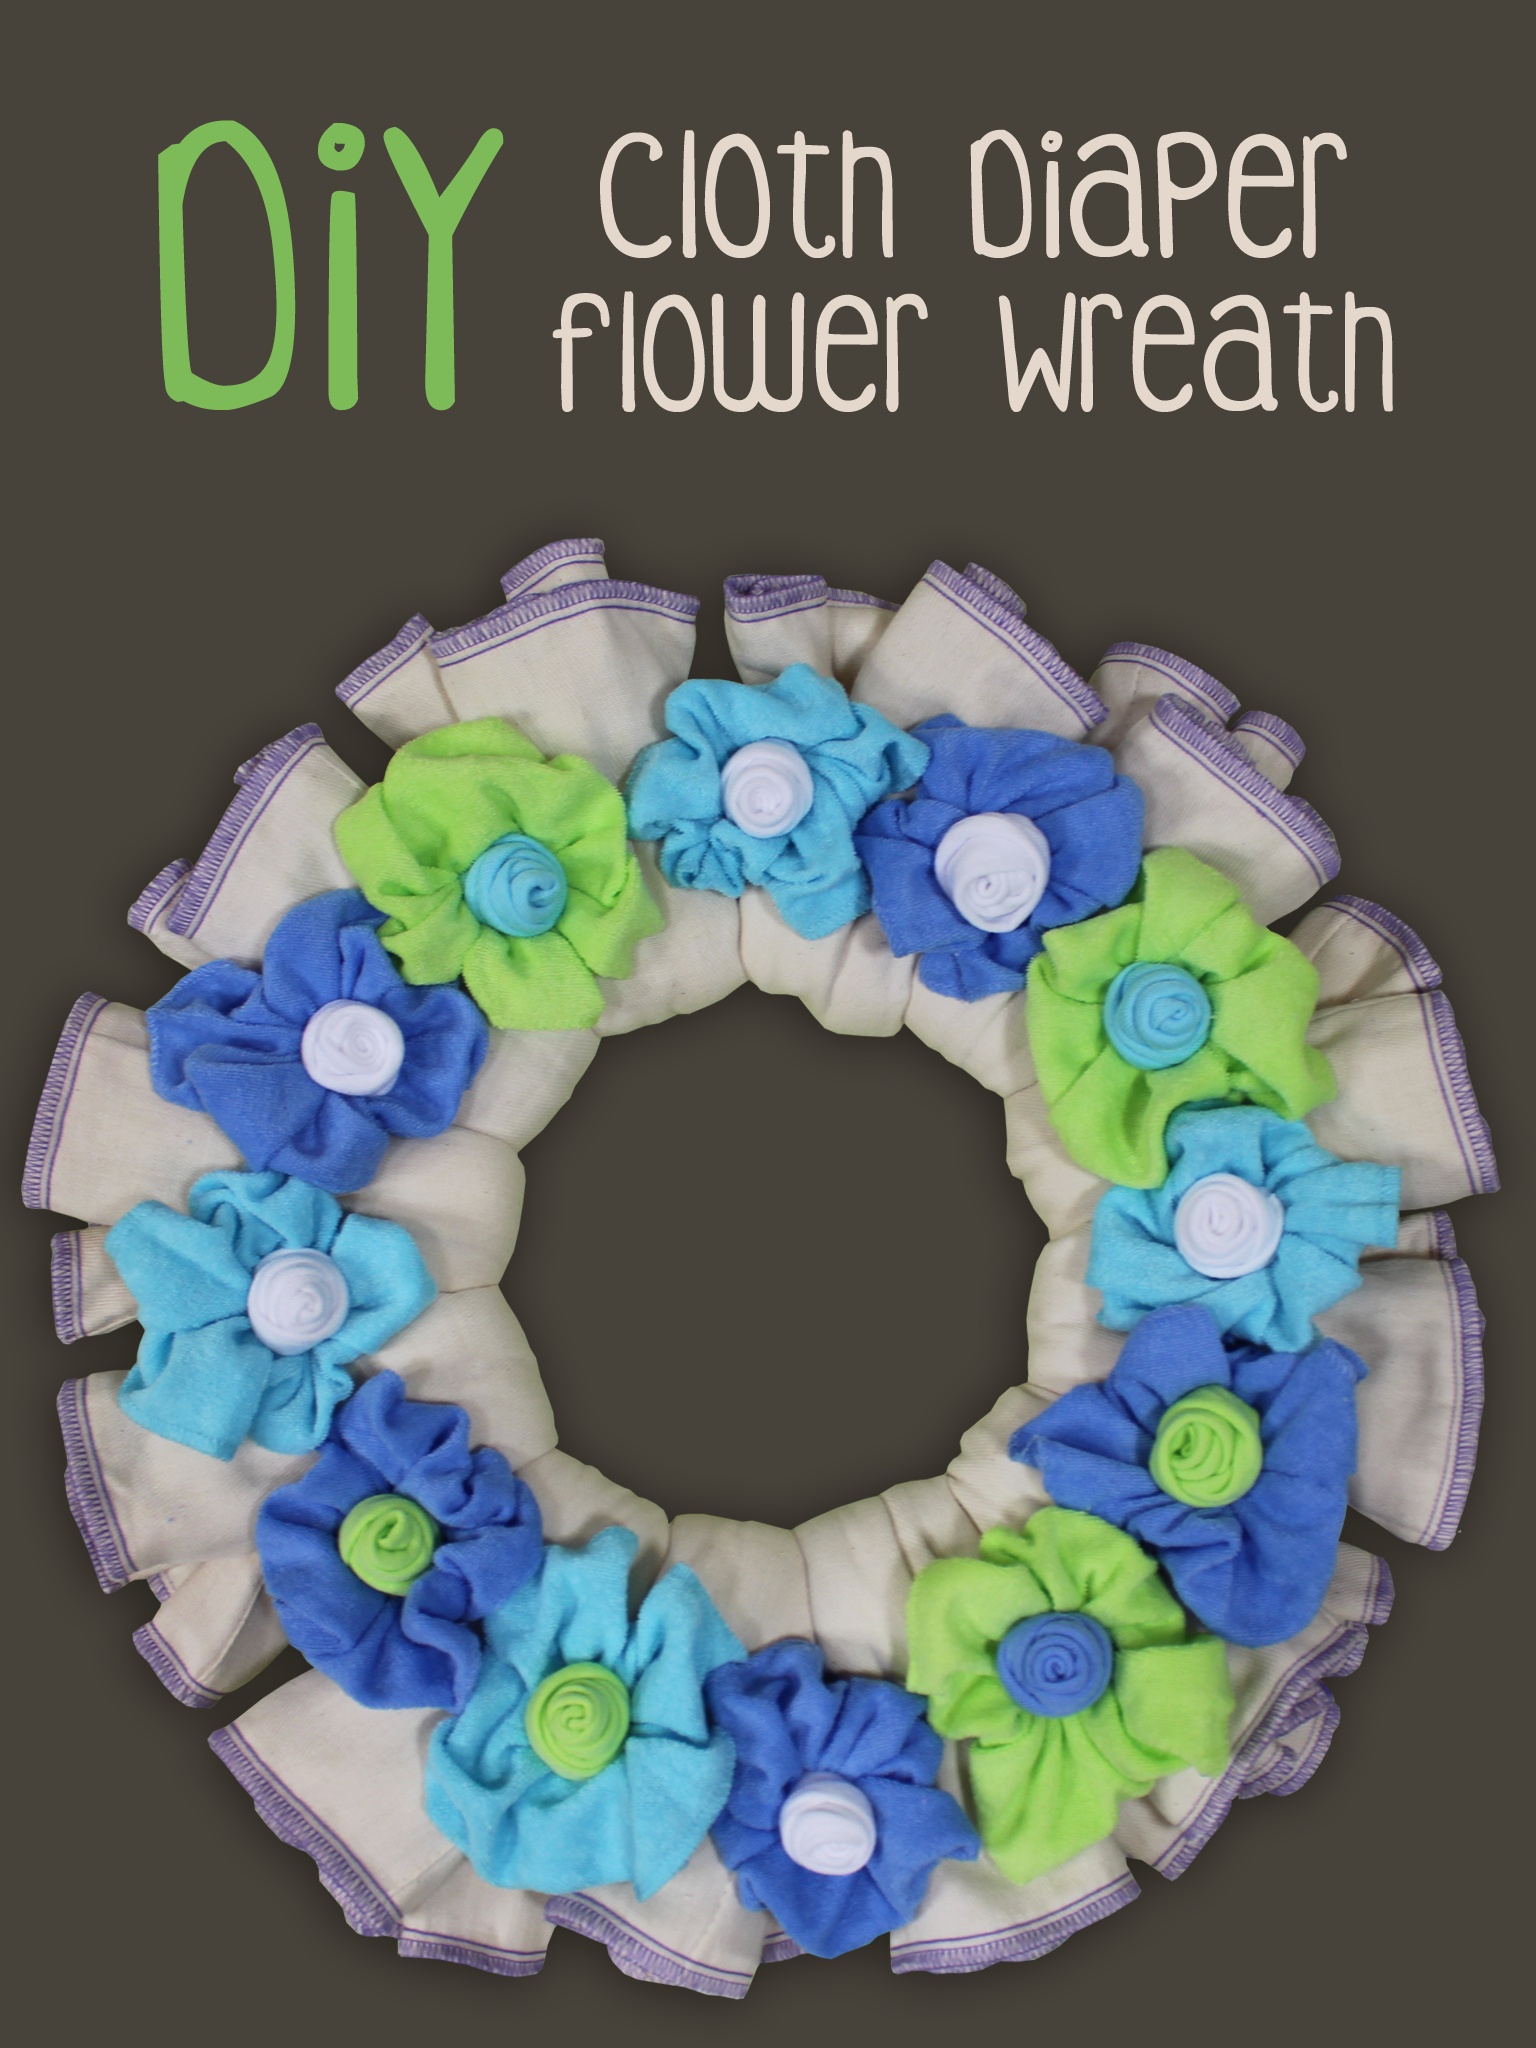
Learn how to make a super cool CLOTH DIAPER WREATH out of newborn prefolds!

Newborn Fitted Cloth Diapers

Workhorse Fitteds from Green Mountain Diapers
Types Of Newborn Fitted Cloth Diapers
Newborn fitted’s (Amazon aff link) are more of a luxury style of cloth diaper. Fitted’s make a great option for newborns because they are extremely absorbent. This is a good thing since newborns are known to pee quite frequently!
They are made from all types of fabrics like cotton, bamboo, hemp, fleece, and some cotton/bamboo or hemp blends.
Fitted’s are an upgrade from flats and prefolds as they are already “fitted” for your baby. They normally come in snap or aplix (velcro) closures although some NB fitted’s require a Boingo or Snappi fastener.
You would put on a fitted like any other cloth diaper but you will also need a waterproof cover to go over them.

8 pounds, 7 oz, 7 days old sporting a Newborn Workhorse Fitted. Image from Green Mountain Diapers.
These babies are pricey!
Newborn fitted cloth diapers are easier and faster to use than prefolds and flats but you will pay more for that convenience. They are on the higher end of cloth diapers in general and can range from $6.50 to $24.00 per diaper. This isn’t including the cover!
Don’t get me wrong, I am sure you can come across a good deal every now and then but for the most part, you will pay a pretty penny.
Popular Brands Of NB Fitted Diapers
Popular brands of newborn or smaller sized fitted cloth diapers include; Cloth-eez Workhorse Fitted, Ecoposh OBV Newborn Fitted, Imagine 2.0 Bamboo Fitted, Thirsties Fitted, BabyKicks Organic One Size Fitted (Fits Preemies & Up), Kissaluvs Cotton Fleece Fitted & more.
You can check out my Amazon affiliate link image if you would like to try out your own newborn fitteds. These are Green Mountain Workhorse Diapers and I have heard nothing but positive things about them!

How Many NB Fitted’s Do I Need?
If you are going to wash every second or third day, I would recommend stocking up on 24 or more newborn fitted cloth diapers. This will give you about eight diapers a day. I would also recommend at least 8-14 diaper covers depending on how frequently you want to use them.
If you want to learn more, you can read my full post on FITTED CLOTH DIAPERS here.
Newborn Pocket Cloth Diapers
Types Of Newborn Pocket Diapers
Newborn Pocket Diapers (aff link) are cloth diapers with an opening in the back that allow you to stuff some type of absorbent insert.
Pockets have a waterproof outer layer and are usually lined with a stay-dry fabric such as suede cloth, microfleece, or certain types of athletic fabrics. The inner lining wicks moisture away from baby’s bottom and helps to keep them a little more comfortable between changes.
Stuffing Sucks
Pocket diapers are not as popular of a choice when it comes to newborn cloth diapers. They tend to be a bit harder to stuff since the opening is smaller than a regular-sized pocket diaper. You also have to remember to remove the insert before washing and then stuffing it back before use.
Some Pockets Are Amazing
I personally loved my Charlie Banana X Small Pocket Diapers on my newborn as they fit him the best and lasted the longest. He was born a bigger baby and the Charlie’s were a little larger than my other NB diapers.
These diapers didn’t rub against his umbilical cord either so that was a plus!
If you would like to try out your own Charlie Banana XS diapers, you can check out my affiliate link.
Popular Brands Of NB Pocket Diapers
Popular brands of newborn or smaller sized pocket diapers include Charlie banana X Small, Applecheeks size 1, Alva NB Pocket Diapers, Fuzzibunz First Year Diapers and more.
How Many NB Prefolds Do I Need?
If you are going to wash every second or third day, I would recommend stocking up on 24 or more newborn pocket cloth diapers. This will give you about eight or so diapers a day. (This is if you will be washing every second or third day.)
You will not need any additional covers since pockets are lined with a waterproof material.
Check out my complete post on POCKET CLOTH DIAPERS and learn more about the different types and styles available.
Newborn All In One Cloth Diapers

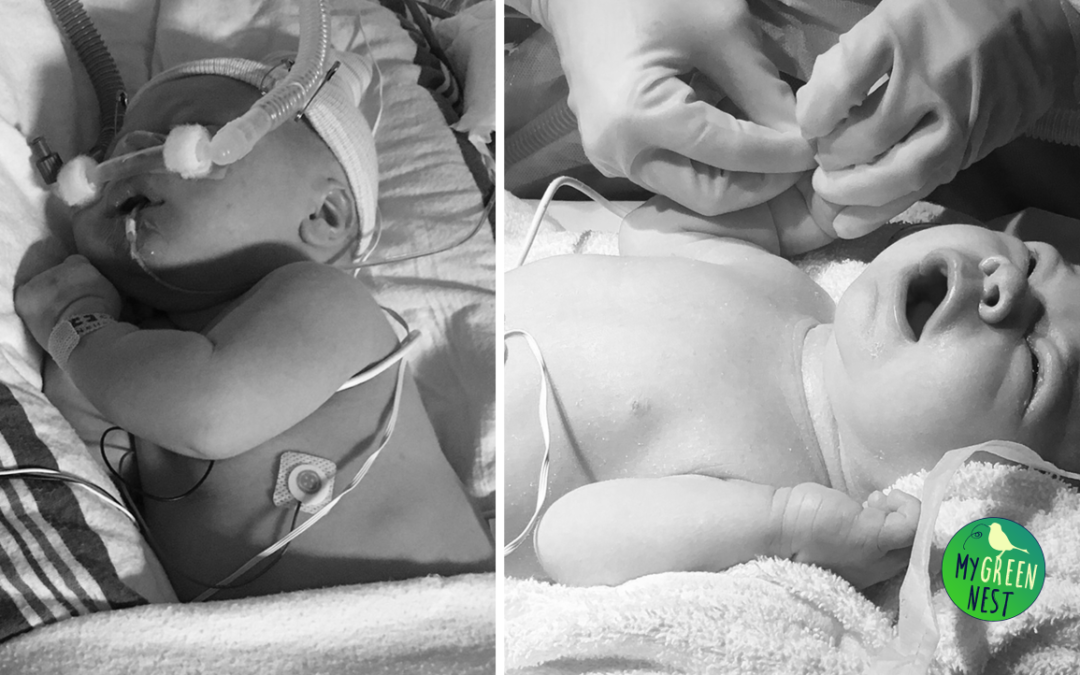
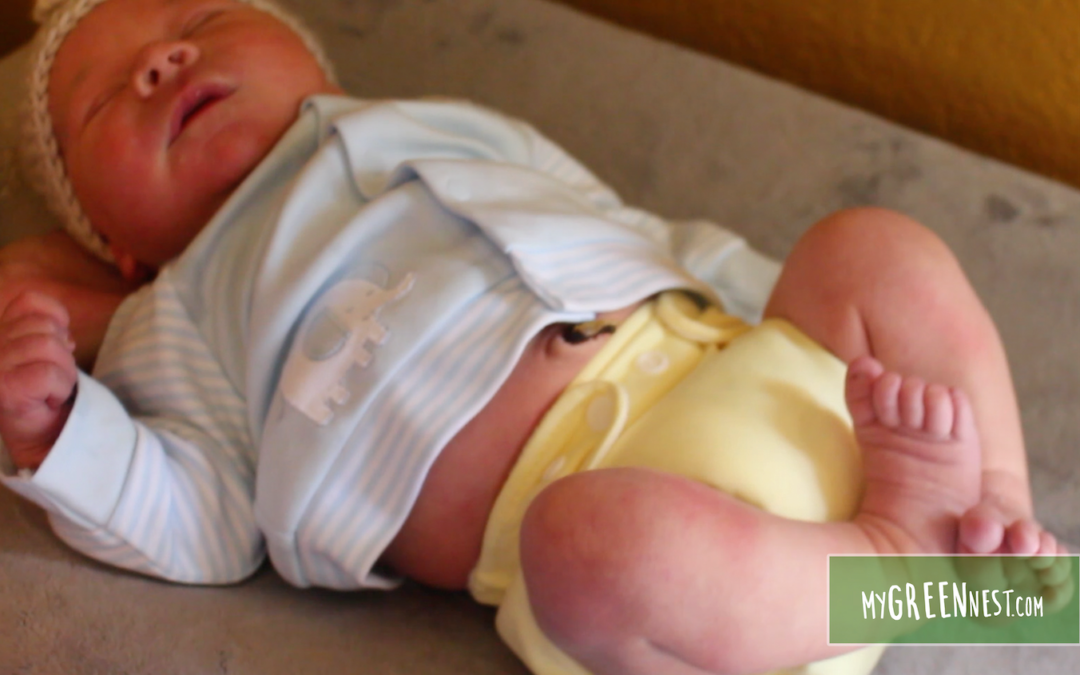
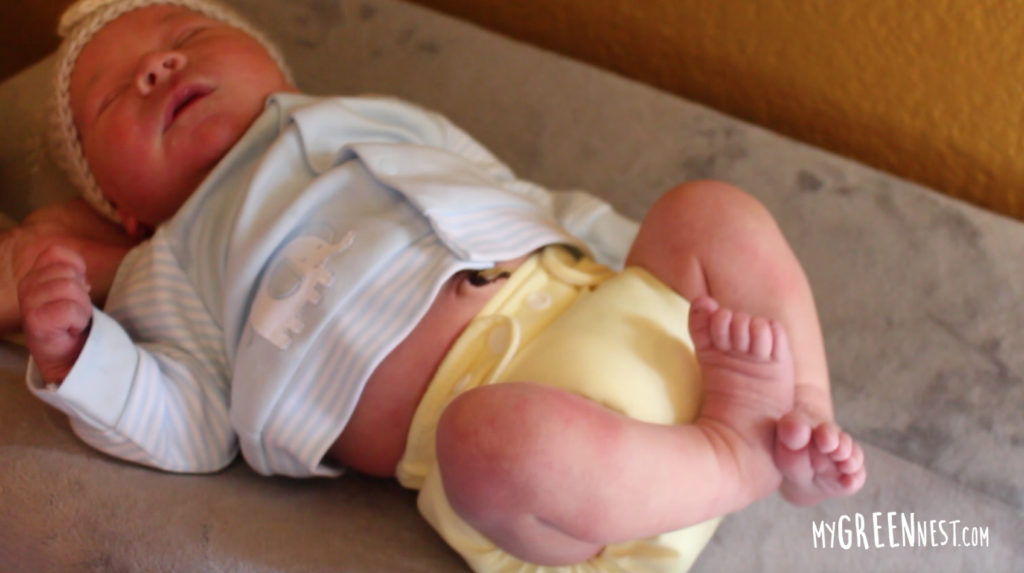
Abram, my son – 1 week old sporting a bumGenius AIO
Types Of Newborn All-In-One Diapers
The newborn All-In-One (AIO) (aff link) cloth diaper is one of the most popular styles of newborn cloth diapers. They are the easiest to use because you don’t have to buy covers, diaper fasteners, or worry with inserts.
Everything in an AIO is “one piece.” An AIO has a waterproof lining, some type of absorbent insert already sewn-in and can come in snap or aplix (velcro) closures.
Velcro AIO’s are the most like disposables because of their ease of use. These are great for changing a newborn in the middle of the night. You don’t have to worry about stuffing like you do with a newborn pocket diaper.
Just chunk the entire diaper into the wash and it’s ready to go after it’s dried!
You Do Pay For The Convenience
The more advanced the diaper, the more it will usually cost you. This is true for newborn AIO’s as well. They are super easy to use, especially for babysitters but they will run you around $7.00 to $20.00 per diaper.
Newborn all-in-ones can also take a little longer to dry compared to flats, or prefolds. Some AIO’s are thicker than others as well.
This was one of my favorite prints – Adventure Trail NB AIO from Thirsites. It featured a snap-down closure in the front that kept the diaper from rubbing against his umbilical cord.
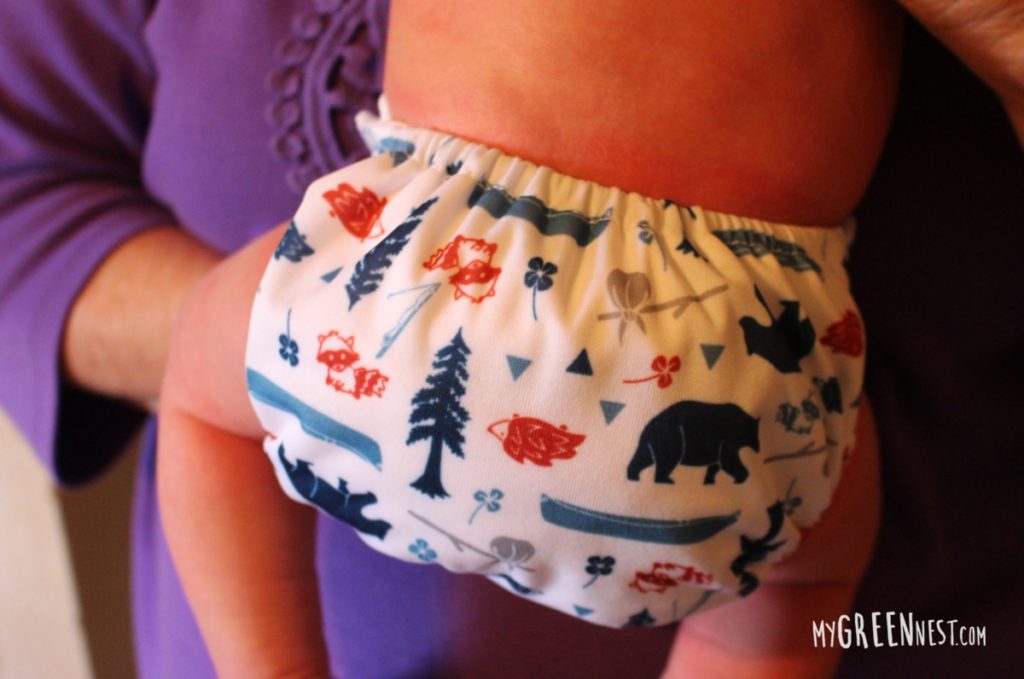
If you would like to try out your own set of the “Adventure Collection,” you can check out my Amazon affiliate link. Thirsties Package, Newborn All In One Hook & Loop, Outdoor Adventure Collection Adventure Trail
Popular Brands Of Newborn AIO Diapers
Popular brands of newborn or smaller sized all-in-one diapers include; bumGenius Newborn AIO, GroVia Newborn AIO, Thirsties Newborn AIO, Little Joey Newborn AIO, and more!
How Many NB AIO Diapers Do I Need?
If you are going to wash every second or third day, I would recommend stocking up on 24 or more newborn AIO cloth diapers. This will give you about eight diapers a day. (This is if you wash every second or third day.)
You will not need any additional covers since pockets are lined with a waterproof material.
Check out my complete post on AIO DIAPERS and learn more about the different types and styles available.
Newborn All-In-Two & Hybrid Cloth Diapers
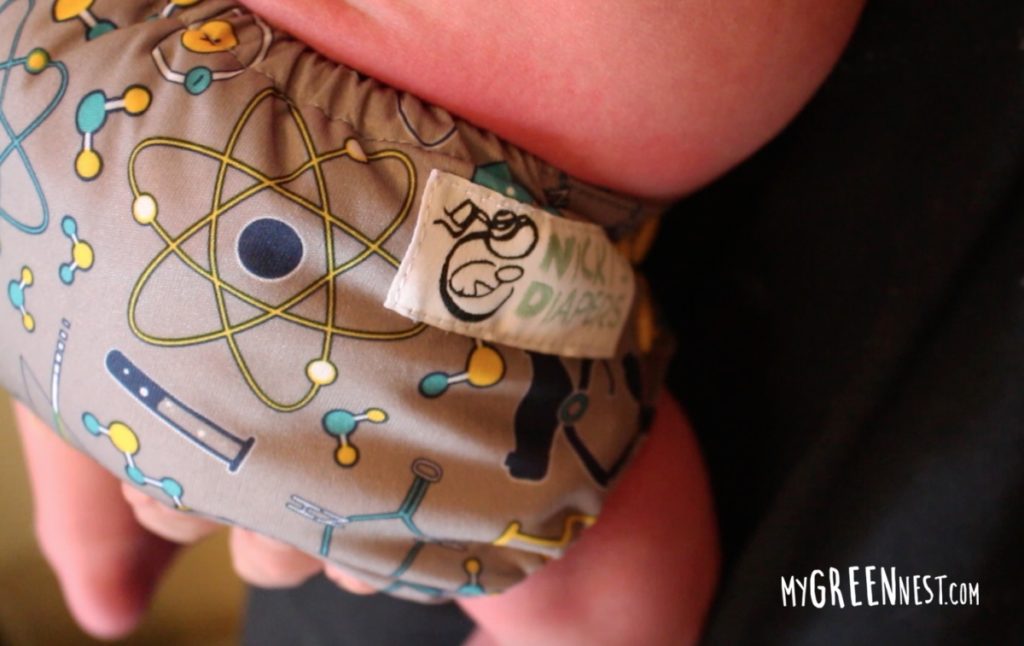 Asher at one week, Nikki’s Newborn cloth diaper
Types Of Newborn All-In-Two Diapers
The newborn All-In-Two (AI2) (Amazon aff link) cloth diaper is very similar to the all-in-one (AIO) style cloth diaper. They come with a waterproof cover or shell and have inserts that can snap or tuck into the cover.
This is great if you like to wash the inserts separately or use different types of inserts. If you always keep the inserts snapped in, you pretty much have an AIO even though it’s technically an AI2 diaper.
You can even use disposable inserts in your covers that are a little more gentle on the environment than a typical disposable. Charlie Banana and gDiapers are a couple of brands that make disposable inserts.
You Do Pay For The Convenience
The more advanced the diaper, the more it will usually cost you. This is true for newborn AI2’s as well. They are pretty easy to use, but they will run you around $7.00 to $20.00 per diaper.
Newborn all-in-two’s take a little less time to dry compared to all-in-one’s because the inserts are removable. Some AIO’s are thicker than others as well.

Buttons Cloth Diapers – Newborn
I have used Buttons Cloth Diapers for a long time, now they have newborn AI2 covers! You can check out my Amazon affiliate link if you would like to try them out also. Buttons Cloth Diaper Cover – Newborn Snap (7-12lbs) (Sherwood)
Popular Brands Of Newborn AI2 Diapers
There are a few brands that make actual newborn sized covers where you can pair any type of insert, prefold or fitted that you desire. Buttons Cloth Diapers Newborn are perfect examples of an actual NB all-in-two cloth diaper as the inserts can snap in and out of the shells and the shells are wipeable.
Nicki’s Newborn Diapers are marketed as AI0’s but since the soaker can snap in and out, I would also consider them an AI2 even though their shells are not wipeable.
Newborn Hybrid Cloth Diapers
HYBRID DIAPERS are a great option if you want to dip your toe into the cloth diapering world but don’t want to go all out. They are also a great option for traveling. You will still have to wash the covers but you can easily discard or sometimes compost the inserts. (Only pee diapers and only certain brands!)
There aren’t many hybrid diapers specifically made for newborns that I have found other than gDiapers. You can, however, use regular disposable inserts and put them in a newborn diaper shell.
gDiapers have sized covers for newborns and come with smaller sized disposable inserts that you can use. Here is a quick video showing you how their diapers work.
If you are interested in trying out gDiapers disposable inserts, you can check out my Amazon aff link here. gDiapers Disposable Inserts Case, Newborn/Small (6-14 lbs)
How Many NB AI2 Diapers Do I Need?
If you are going to wash every second or third day, I would recommend stocking up on 6-8 newborn AI2 cloth diaper shells and at least 24 or more cloth inserts. (less if you plan on mixing in disposable inserts) This will give you about eight to twelve diapers a day if you reuse the covers.
What you’ll need for full-time gDiapering
*6-8 gPants for full-time use (bonus: removable, breathable pouch allows you to replace just the pouch instead of the whole pant when changing)
*Disposable Inserts, size Newborn/Small (even if you plan on using cloth Inserts, newborn gPants work best with Disposable Inserts)
Check out my complete post on AI2 DIAPERS and learn more about the different types and styles available.
Newborn - Wool Cloth Diapers!

Newborn Wool Cloth Diapers – Image From Green Mountain Diapers
About Newborn Wool Cloth Diapers
Wool cloth diapers (Amazon aff link) are another great option for cloth diapering. They are made with pure wool, are probably the best night-time diaper cover option. Compared to PUL or TPU, wool is a completely natural and 100% breathable material – meaning, fewer diaper rashes!
They will have to be lanolized but that is what keeps them waterproof all of the moisture/mess in. (More on that later) You will need to pair either flats, prefolds, or a fitted cloth diaper under your wool cover.
Wool is the priciest of all the types of cloth diapers but they are the most luxurious, warm, absorbent, and eco-friendly. You can drop anywhere from 20-45$+ on wool covers.
Types of Wool
In the diapering world, you will most likely encounter two different types of wool blend interlock covers. Wool/spandex blend or 100% wool. The spandex version usually helps to retain its shape and from felting so much over time.
100% wool can stretch out of shape a bit over time depending on how the cover is constructed. It’s usually a bit softer and thinner than the typical wool blends and will pill a little bit more.
There are other types of wool-like wool crepe, boiled wool, recycled aka upcycled wool, wool flannel, wool jersey and more. If you want to see a detailed explanation of each wool fabric-type click HERE.
There are also several types of wool diaper covers such as but not limited to; regular wool diaper covers with hook & loop closures, wool cover pull-ups, (some with a high waistband and some with a low waistband) wool pants, (longies) wool shorts (shorties) and leggings.
Wool Cloth Diaper Cover Care
Most wool will need to be hand-washed and hang-dried although there are some types of wool that you can run on a wool cycle in your machine. Once you wash your wool you will also need to melt in some lanolin and run your diaper though it. This will give your wool it’s waterproof superpowers.
Here is a quick video on lanolizing and washing wool from my friend Julie from ClothDiaperGeek.com. She will show you how it’s done!
Popular Brands Of Newborn Wool Cloth Diapers
Most wool diaper brands will come in newborn or Xsmall sizes. Since they are usually a bit stretch, they can last anywhere from two-four months. Some popular brands include but are not limited to; Sloomb, Humbird, Wild Coconut Wear, Truly Charis, Imagine Baby and so on.
I think Imagine wool covers are extremely cute, you can check out my Amazon affiliate link to get your own newborn size wool cover. Imagine Baby Products Knit Wool Cover, Indigo, Small

Where To Get Wool Diaper Covers
If you want to try to get more affordable options, try getting used wool covers from Facebook groups like Wool Swap and WoolSwappers. You can also try DiaperSwappers.com. I do a lot of my shopping on Amazon, Etsy, and eBay. There are a lot of WAHM’s who make wool covers on Etsy. They will be more likely to make custom changes for your baby.
How Many NB Wool Diapers Do I Need?
If you are going to wash every second or third day, I would recommend stocking up on 12-18 NB wool covers if full-time. 3-6 if only part-time or for overnight.
You can reuse the covers a few times as long as they are only pee diapers. Just let them dry in-between uses. You will need a set of flats, prefolds, fitteds, or a bit of all three to wear under the wool diaper covers. (You will need enough diaper for at least 8-12 changes a day for newborns – 24-36 diapers).
I will write an entire post on wool cloth diapering in the future but for now, you can read a more detailed post HERE.
Disadvantages of Newborn Cloth Diapers
It Takes $$
No one loves a tiny cloth diapered bootie like I do but I don’t always recommend stocking up on NB diapers. The first and major disadvantage is the cost factor.
Unless you go with the cheaper options or purchase used, buying a complete stash of NB cloth diapers can get pricey. If you plan on having multiple children then you will get more of your money’s worth out of the deal.
However, you can also re-cap a lot of your money by selling your diapers. (More on that later.)
If you plan on having multiple children then you will get more of your money’s worth out of the deal. However, you can also re-cap a lot of your money by selling your diapers. (More on that later.)
They Grow Like Weeds
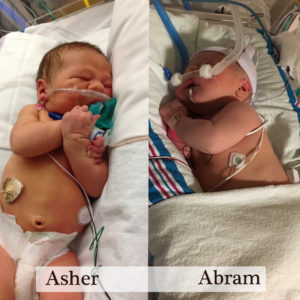
The second disadvantage of buying NB sized diaper is that they will grow out of them pretty quickly, most of the time. If you have a premie, that may not be the case.
If they don’t grow out of them quickly, sometimes newborn cloth diapers can’t hold all of the urine. You end up having to size up anyway. That was the case with most of the NB diapers I used on Abram.
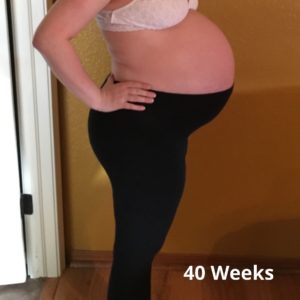
Life Is Like A Box Of Chocolates, You Never Know What You’re Gonna Get.
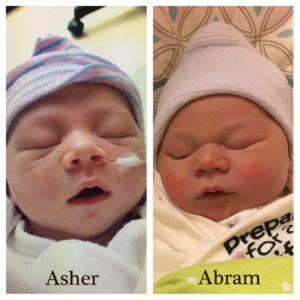
You’ll never know the exact size that your baby will be born at but knowing how much your past babies have weighed can be a good indicator.
If you are prone to have smaller babies than newborn cloth may be right for you.
I created my quiz to help you guys decide if you might invest in your own newborn stash. I can’t predict the size of your baby but the quiz will give you the most accurate results based on your answers provided. Take The Quiz Now!

Making Newborn Fluff Affordable
Newborn cloth diapering is very cute and helps the environment a great deal but the costs can add up quickly! I put together a few tips on how you can cloth diaper your newborn more economically.
Buy Used or Trade
This is the easiest way to save money… on cloth diapering in general. You can buy used NB cloth diapers from friends, eBay, craigslist, FB groups and so on. Newborn diapers are generally in great condition because they’re not used very long. Don’t be afraid of a few stains, you can get those out easy! (More on buying and trading in a minute)
Go for more affordable NB diaper types
If you wanna save even more, buy used flats, prefolds, or pockets and covers. Those are your more affordable NB diapering options.
Use A Rental Service
This option will save you more money if your child isn’t in cloth diapers very long and you no longer plan on having babies. If you plan on having more kids, you’ll be better off investing in a NB stash.
The perks to using a rental service are that you get to try out quite a few different brands to see what you like. It’s also cheaper than buying disposables.
Just google diaper rental services in your local area.
*Sell Your NB Fluff
If you want to recap some of your initial costs, clean those bad boys up and sell them. Cloth diapers hold an amazing sell-back value, especially NB fluff. (More on selling in a minute)
Buying, Selling, Trading Used NB Cloth
All Good Things Must Come To An End Eventually, your cloth diapering journey will sadly end – unless your like my friend (Owner Of Boingo Baby) who had seven kids and now a new grandchild!
You have several options when buying, selling, or trading (B/S/T) newborn cloth diapers. I could write an entire post on this topic alone but I’ll quickly cover the basics here.
Buying
Because NB cloth usually isn’t used very long, most of the time you can get them used and in great condition online. Don’t be afraid of a few stains, just make sure the PUL looks good and the elastic isn’t stretched out. Check out my tutorial on Removing Diaper Stains if you want to get better deals online.
You can find cloth diapers on DiaperSwappers.com, eBay and different cloth diaper B/S/T groups on Facebook. If you want to find them locally, search for them on Craigslist or your Facebook Marketplace.
Always be careful when meeting someone, meet them in a public place and bring cash. I like to have my husband or someone with me.
Selling
When it comes time to sell your fluff, you must clean them properly so that there are not any stains or odors. This will help you make back most of your money.
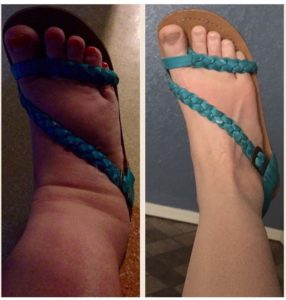
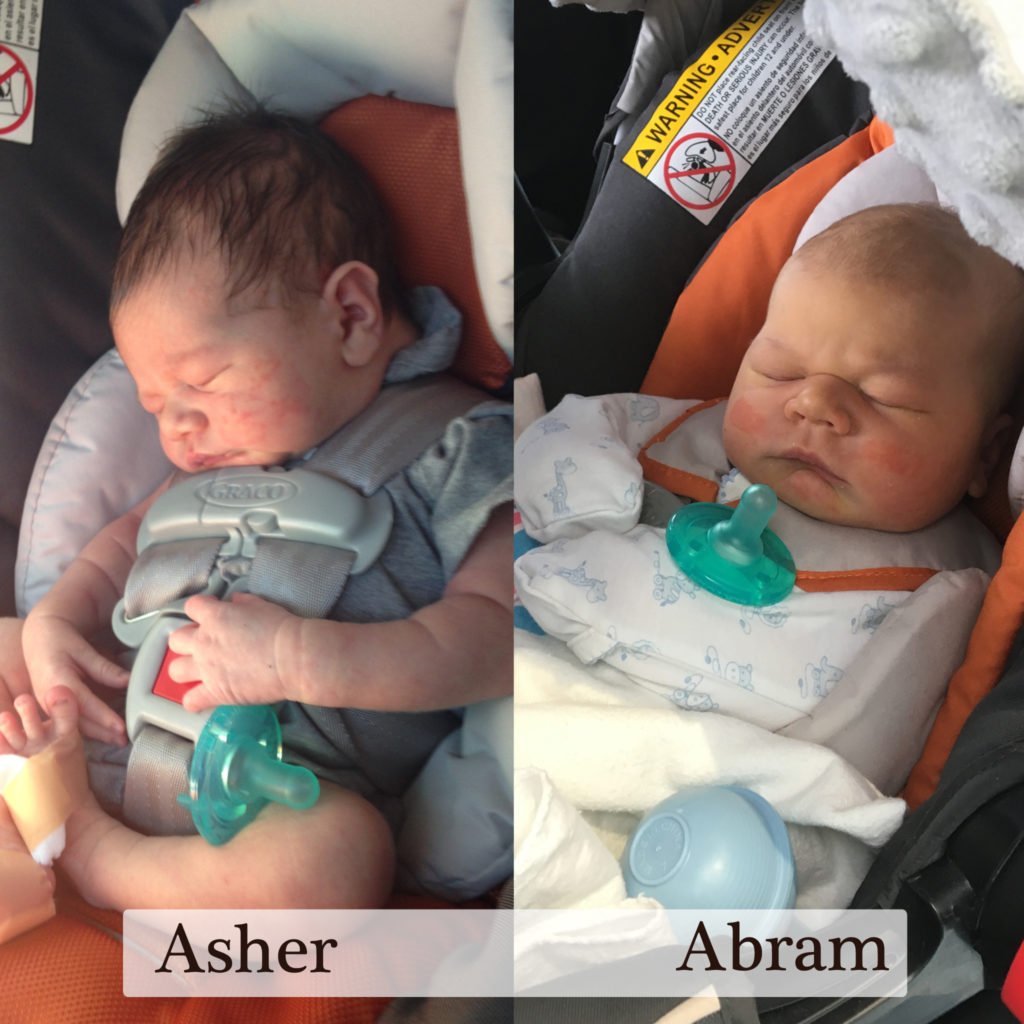
Once they are clean, take several pictures of them in good lighting. (Maybe by a full-sun window) Take a picture of them altogether. Then take pictures of them opened up, close-ups of the PUL and fabric or tabs and any pictures of imperfections.
You can drape a solid-colored blanket behind them so that the diapers are more of a focal point.
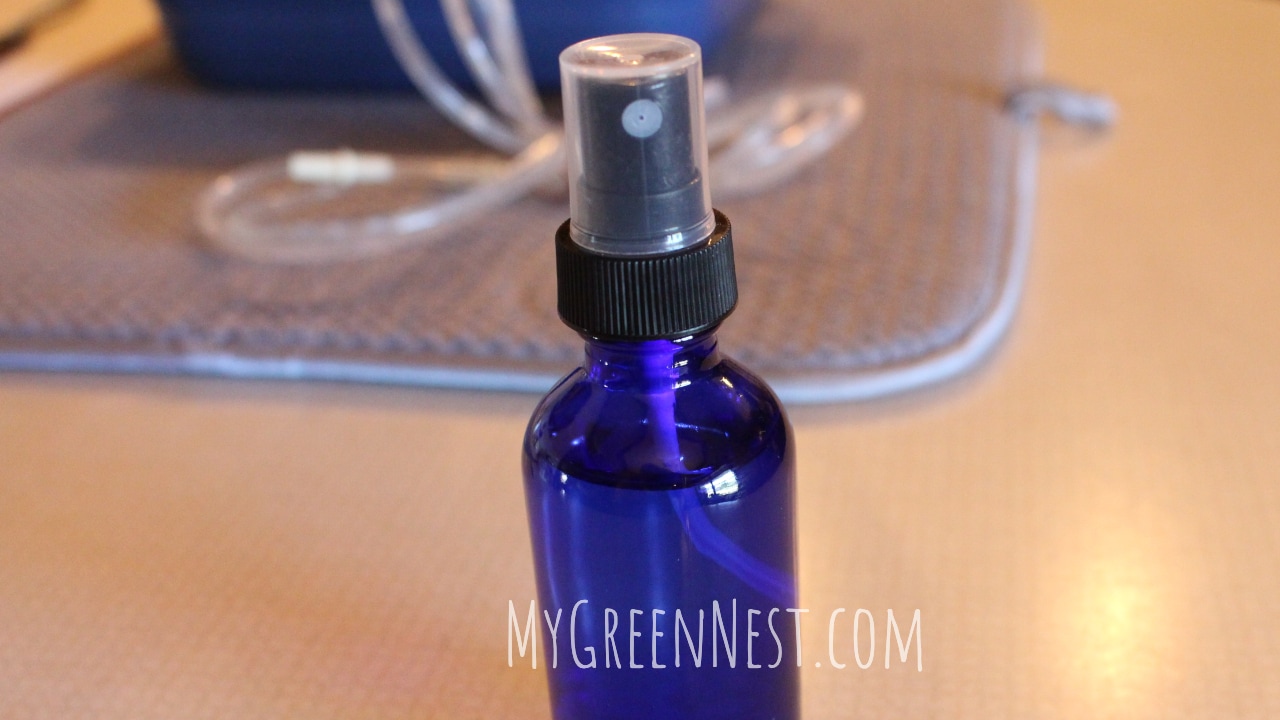
Example Selling Images - Taken From My iPhone

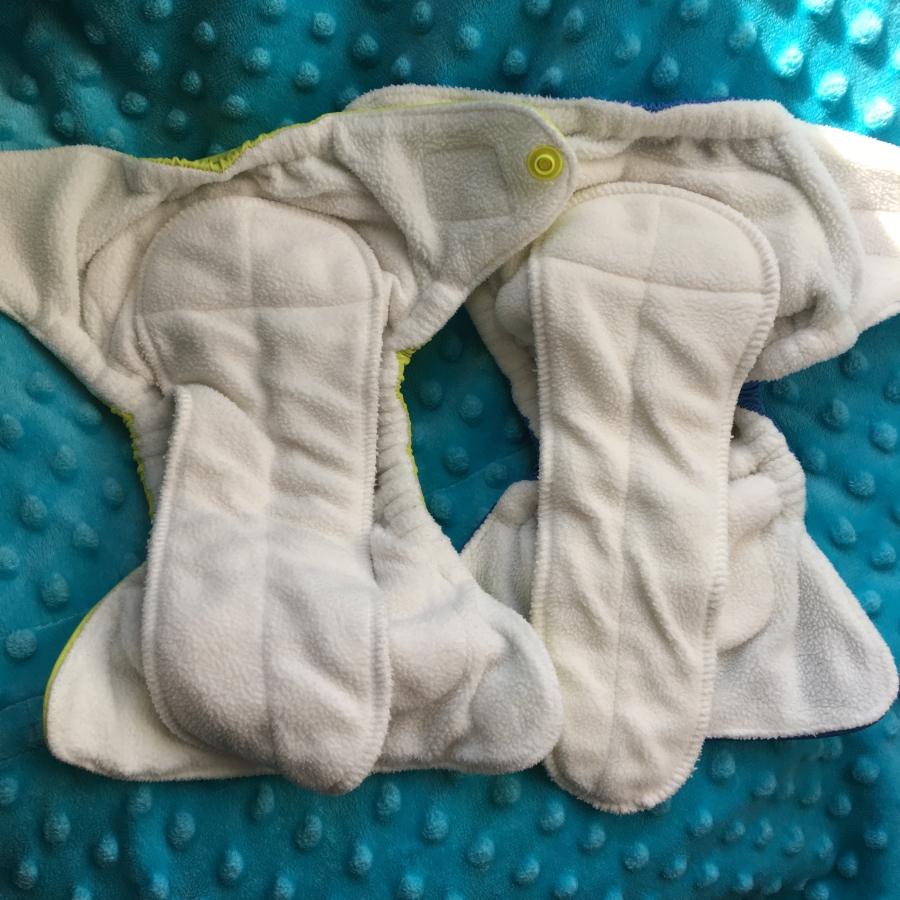
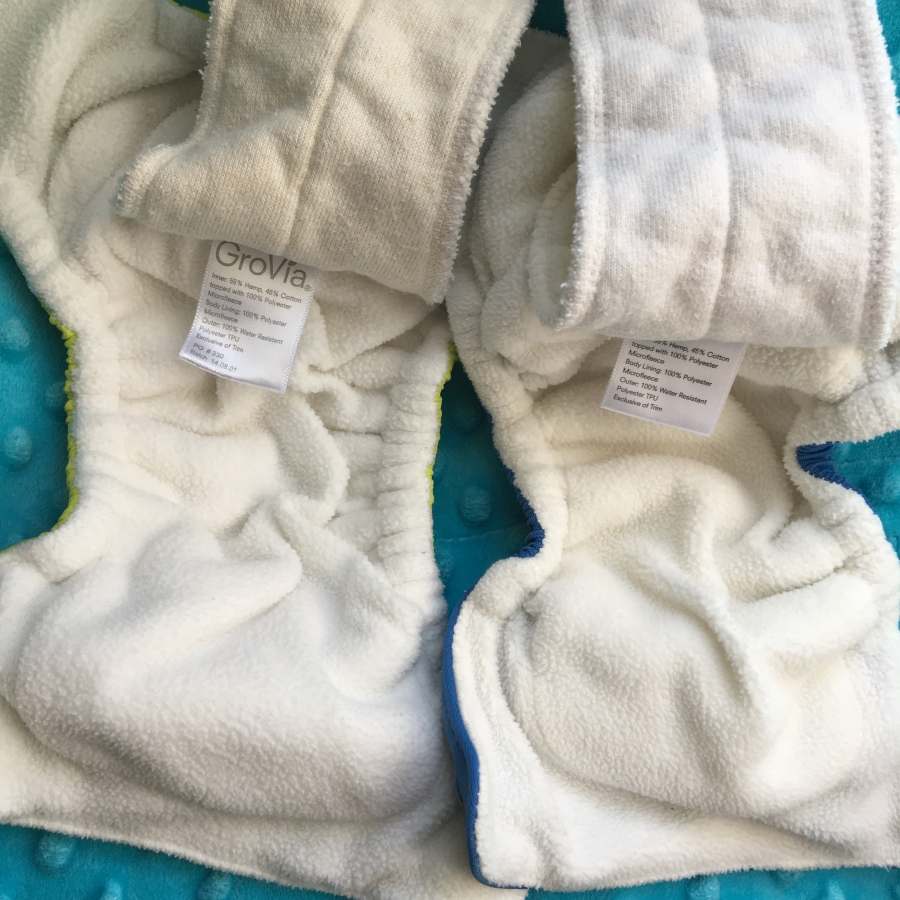
Write a detailed description of each type of cloth diaper and be completely honest and open about their condition. This will help you establish trust with a potential buyer. Price them fairly but start a little higher so that people have a little wiggle-room to negotiate. Have a minimum number in your mind that you will accept and don’t sell them for any lower!
If you are selling on eBay, you will be a little more protected from scammers. However, you will have to give eBay a cut. If you are selling on Craigslist, FB Marketplace or anywhere in person… make sure to follow the safety tips I just mentioned.
If you decide to sell online through a group, be sure to factor in shipping. Decide if you want to ship within your country or international. I usually stick to the US and sometimes Canada. I always factor in my shipping costs.
Trading
Another totally awesome option is to trade your fluff for NEW fluff! You can do this on sites like DiaperSwappers or certain Facebook B/S/T groups.
You can run the risk of someone not going through on their end but most of the time that doesn’t happen.
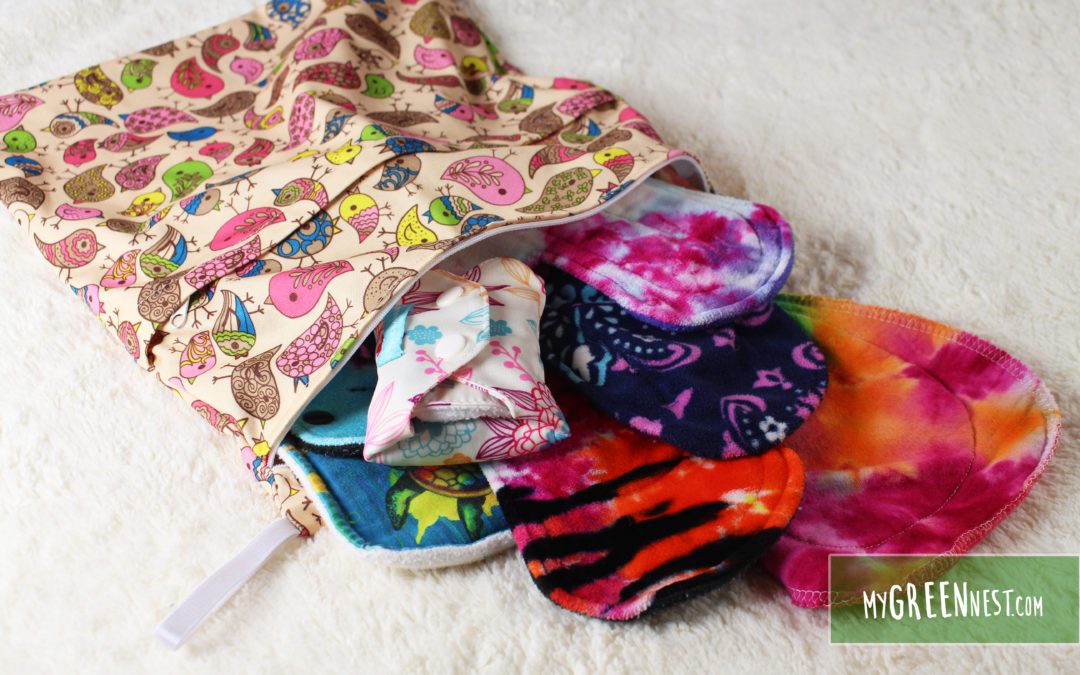
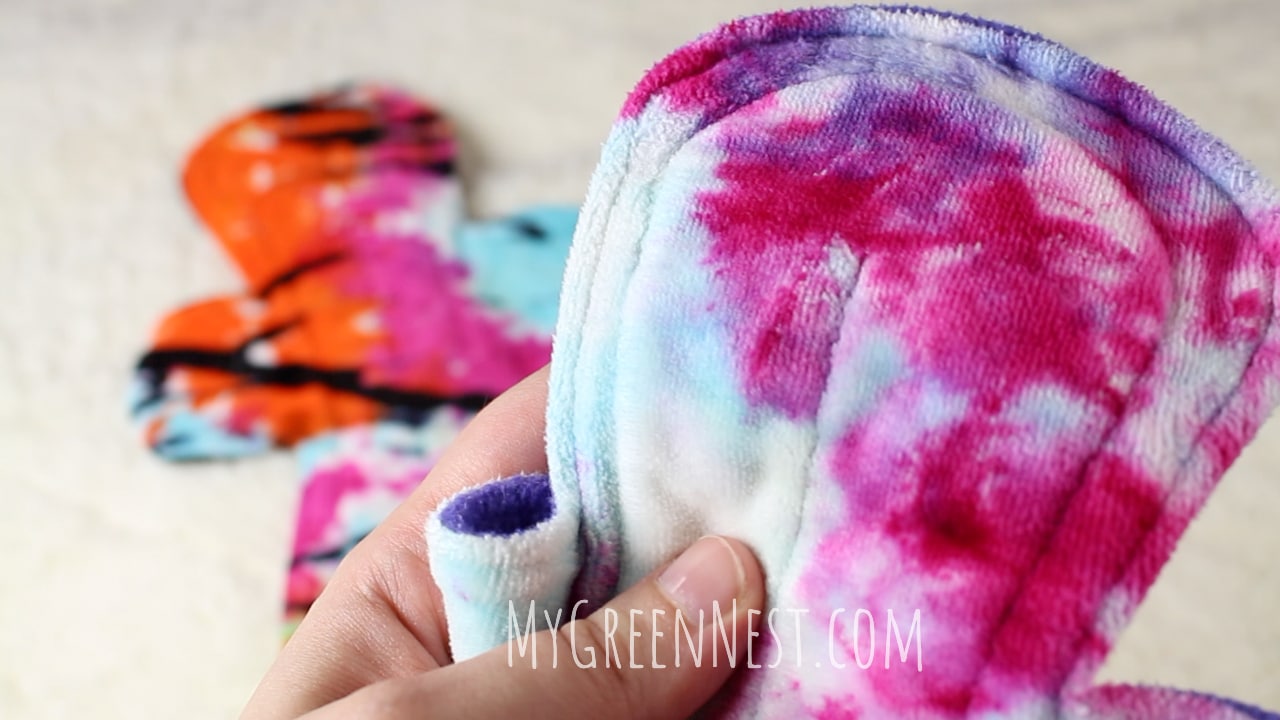
I’m currently trading some of my homemade cloth pads for a wool diaper cover from my online friend. She runs a cloth diaper themed YouTube channel called LoveFluffyBums if you wanna check her out!
Donating
If you’re completely done using cloth diapers and don’t want to mess with the hassle of selling, you can also donate them.
This a wonderful thing to do since there are so many families in need of diapers. I know quite a few non-profits that will gladly accept your used diapers.
One of the ones I recommend is Cotton Babies Love. You can donate your gently-used diapers and help families in need.
If you yourself are in need, you can also apply for help on their website HERE.
Giveaway Closed, Sorry!
I hope you enjoyed my thorough guide to newborn cloth diapers. Now let’s get to the exciting part, the giveaways!
Two Super Giveaways!
Enter before the time runs out!
Day(s)
:
Hour(s)
:
Minute(s)
:
Second(s)
The Deets On What All You Get!
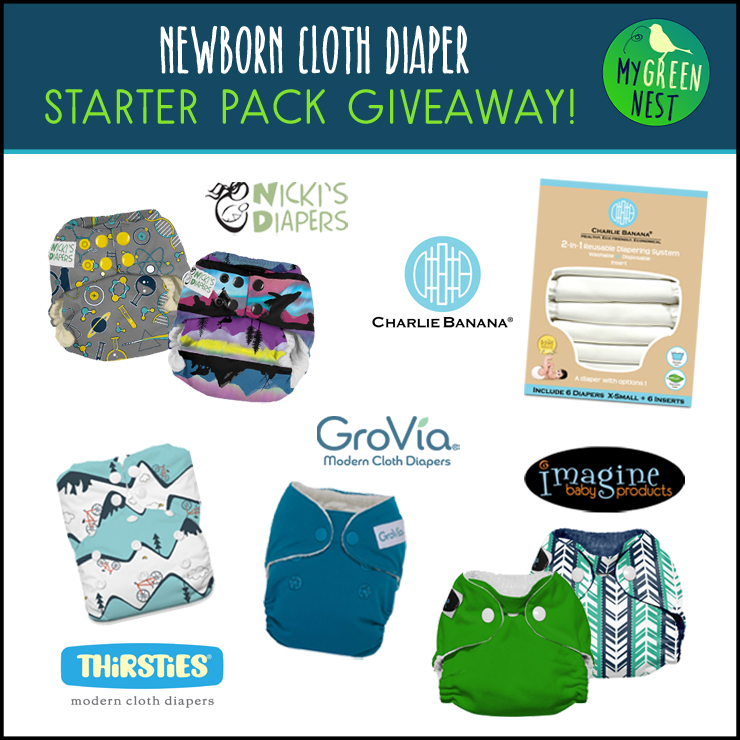
Sponsor #1 Charlie Banana
One lucky mama will receive a SIX PACK of the X-Small Charlie Banana Sized Diapers in white! Now, this isn’t part of the giveaway but I would appreciate it if you could show them some love on their FACEBOOK. They never hold back when it comes to giving things away to my Nesties! $95.99 in value.
Sponsor #2 GroVia
One lucky mama will receive a GroVia Newborn AIO in the new blue color “Abalone.” $15.95 in value.
Sponsor #3 Thirsties Baby
The winner will have their choice between a Newborn AIO or a regular Thirsties One Size AIO in the print “Mountain Bike.” $15.50 in value.
Sponsor #4 Nicki’s Diapers
Nicki’s Diapers will be graciously giving away two Newborn Bamboo AIO Diapers in the snap closure and print “Northern Lights” & “Whiz Kid.” $27.90 in value.
Sponsor #5 Imagine Baby Products
The winner will get to choose Two Newborn Stay Dry AIO Diapers in any closure and available print! $11.95 in value.
How To Enter!
Giveaway #1 – Twelve Newborn Cloth Diapers ~ $167.00 In Value!
Open To USA & CANADA ONLY: Click the giveaway image above to enter this giveaway. Remember to (confirm your email) or you will not be entered!
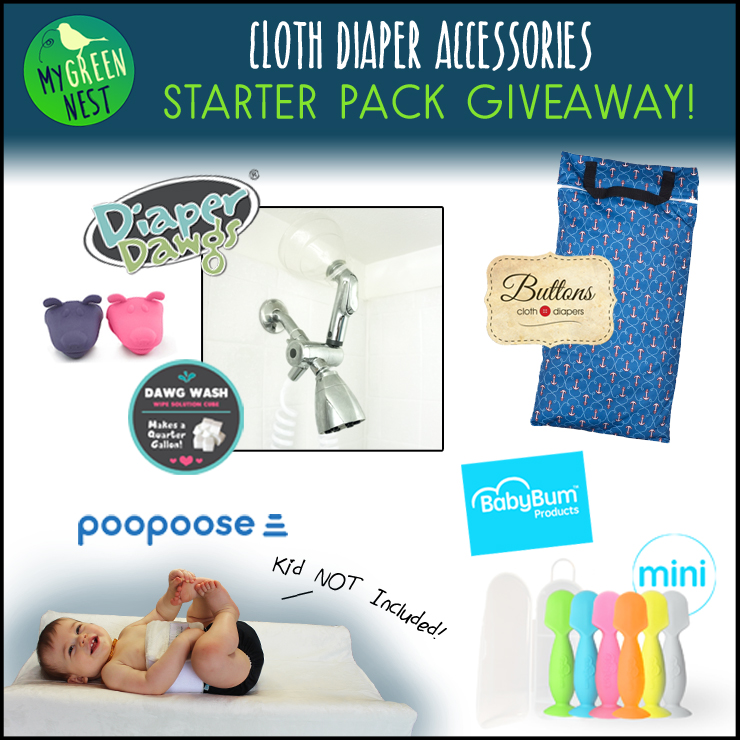
The Deets On What All You Get!
Sponsor #1 Diaper Dawgs
One lucky mama will receive a Hot Dawg Diaper Sprayer from Diaper Dawgs (which hooks up to your shower and doubles as a diaper sprayer!) This is perfect for small bathrooms. $49.95 dollar value.
Diaper Dawgs is also giving away a pair of their handy pink/purple Diaper Dawgs Finger Guards. These are great for removing soiled inserts and protecting your hands when spraying off diapers. $7.95 dollar value.
And last but not least Diaper Dawgs will also be giving away a quarter gallon of their Dawg Wash. Dawg wash is great for making homemade cloth wipe spray that is gentle and cleansing for baby’s bum. $2.95 dollar value.
Sponsor #2 Buttons Cloth Diapers
Buttons Cloth Diapers will be giving away one of their diaper pail liners. Winner gets to pick any color/print that is in-stock. These are awesome waterproof bags for storing dirty diapers until you are able to wash them. $15.00 dollar value.
Sponsor #3 Poopoose
Poopoose will be giving away one of their patented Poopoose changing pads along with an in-stock changing pad cover. These changing pads are wonderful for keeping babies safe and keeping them from wiggling around during diaper changes. $84.98 dollar value.
Sponsor #4 BabyBum Products
BabyBum Products will be giving away one of their orange or yellow Mini BabyBum Diaper Cream Brushes. These little gadgets are great for keeping your hands clean and wiping diaper cream evenly on your babies bum! $9.99 dollar value.
How To Enter!
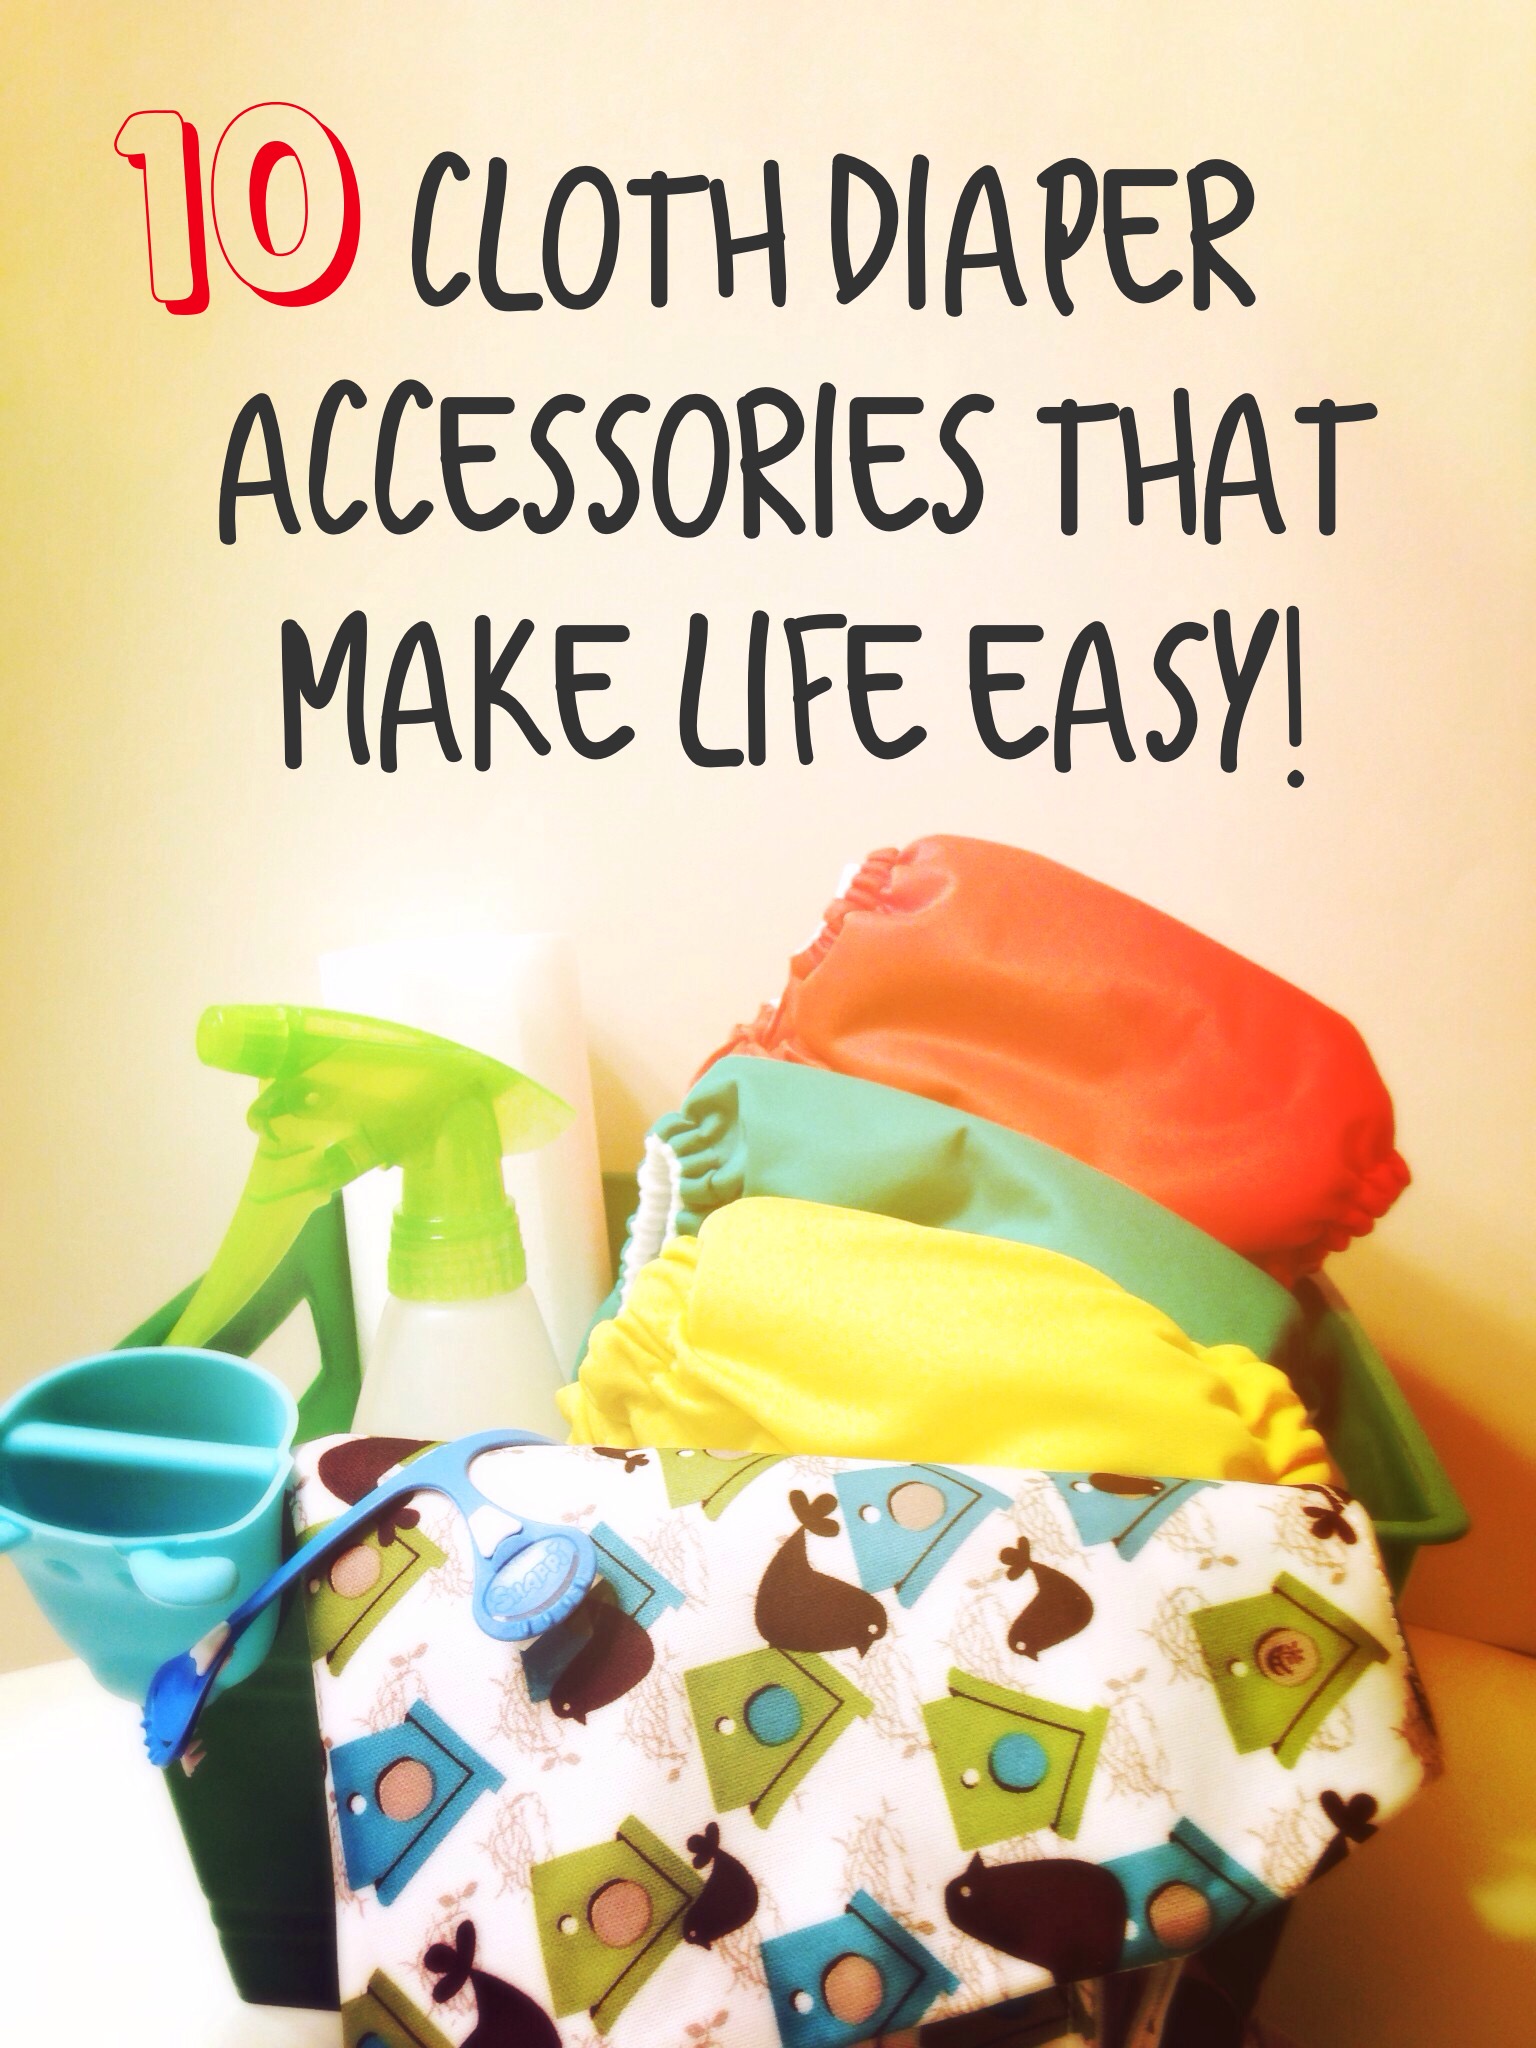
Giveaway #2 Cloth Diaper Accessories ~ $170.00 In Value!
OPEN TO USA ONLY: You must follow the instructions exactly in order to be entered into this giveaway. All you need to do is pin the image (The red one that says All About Newborn Cloth Diapers) at the bottom of this post. Then leave a comment on this blog post and tell me if you have ever used newborn cloth diapers before and what your Pinterest username is.
Good luck, I can’t wait to hear from you guys!